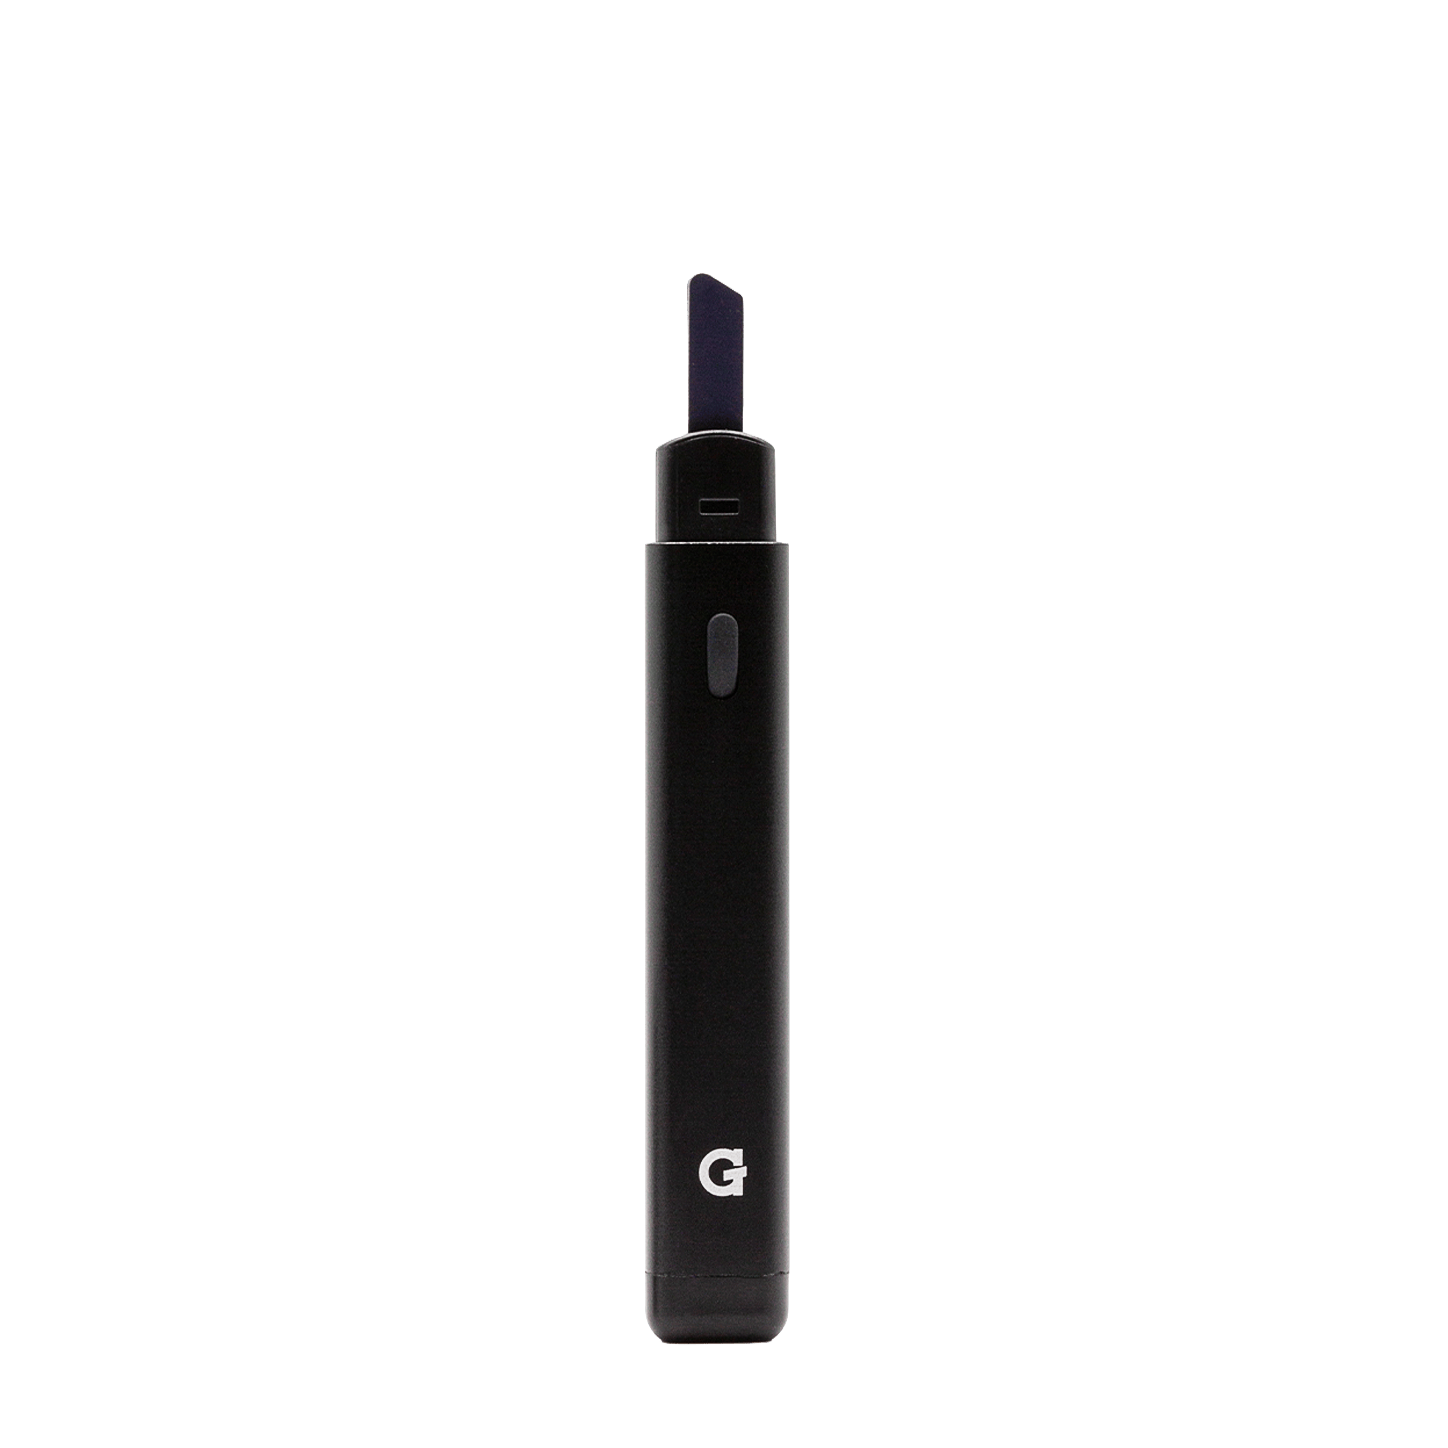
Using your
Dash+
Register your productHow to use
-
 1
1Charge
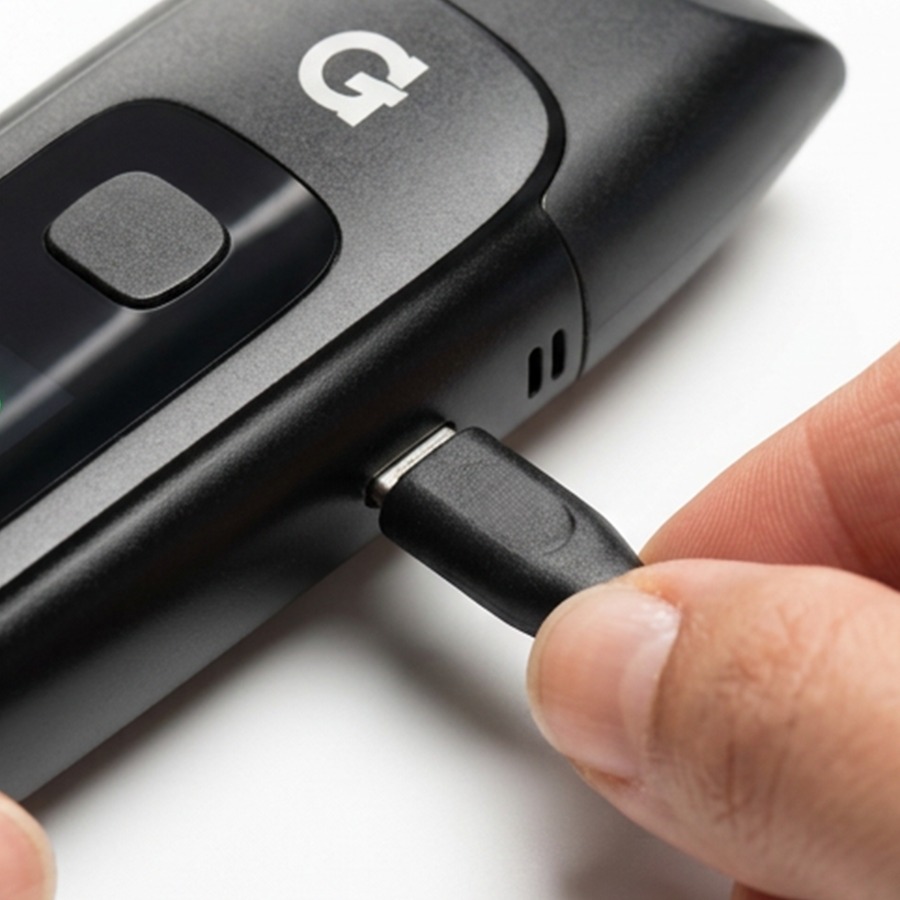
- Plug any USB-C cable into the charging port on the side.
- Give it a full charge before first use — takes about 1 hour.
USB-C cable included.
-
 2
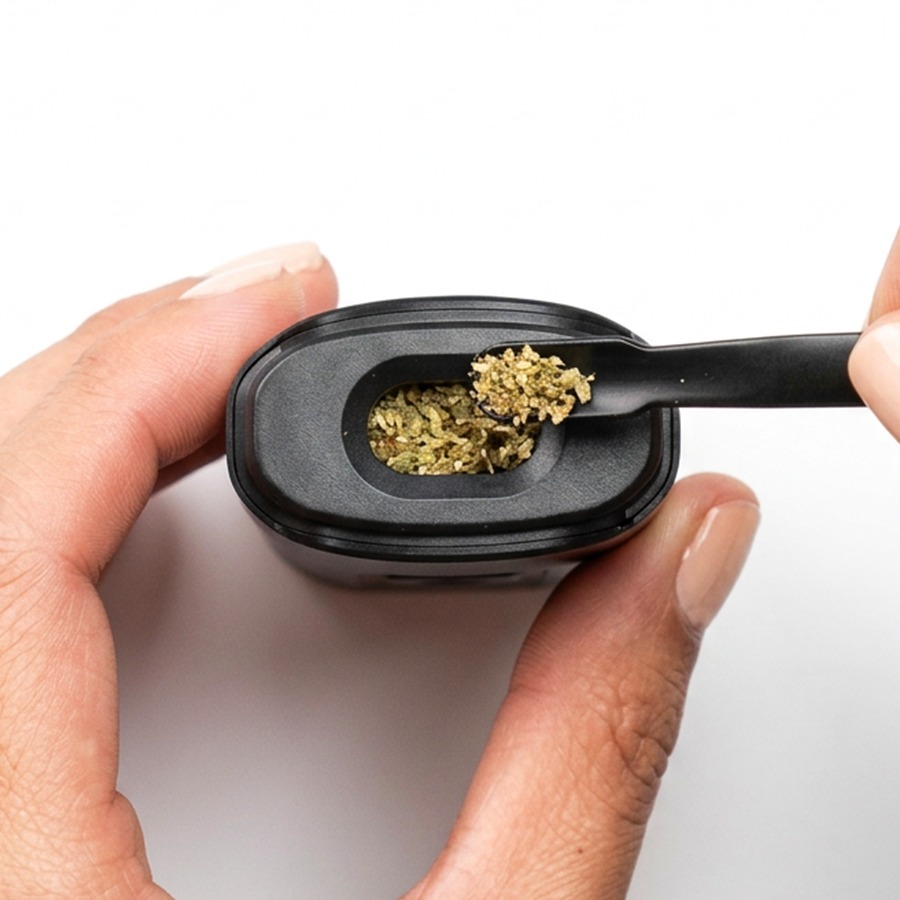
2Load
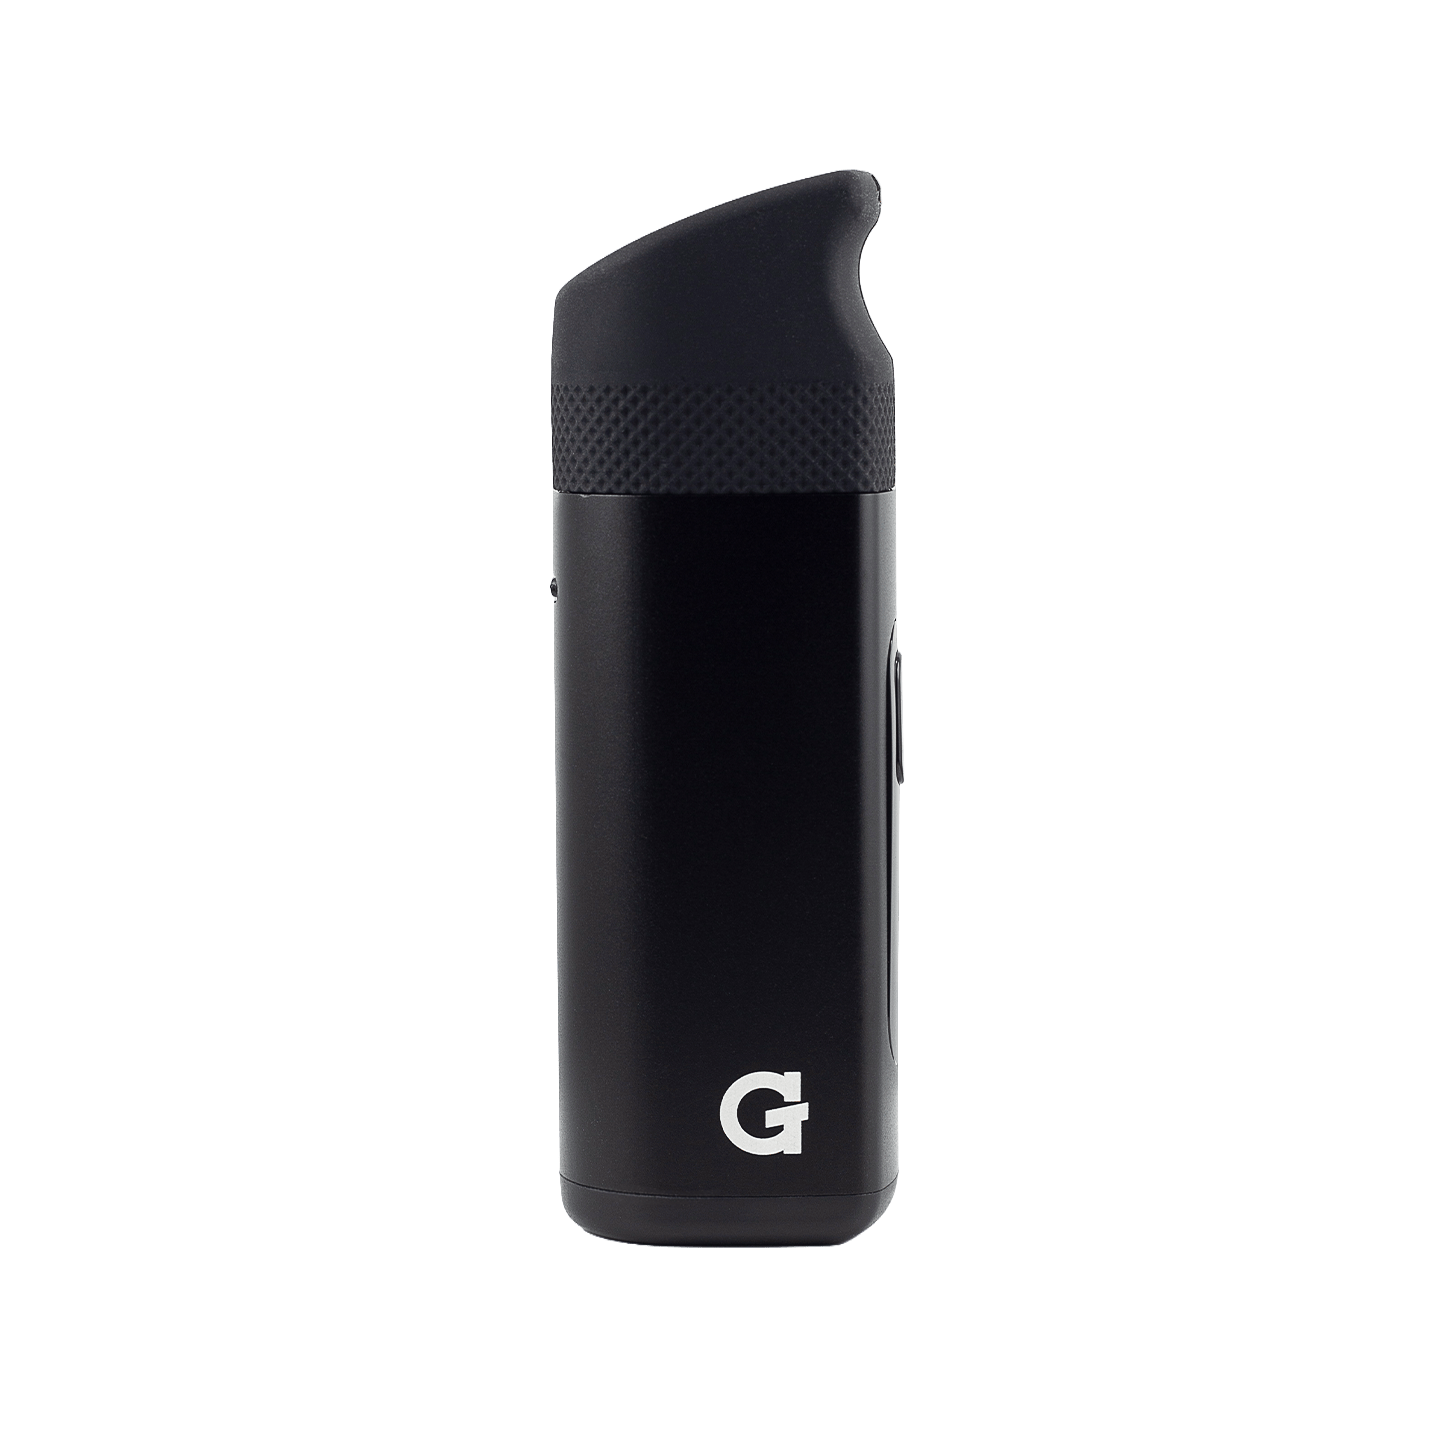
- Remove the magnetic mouthpiece.
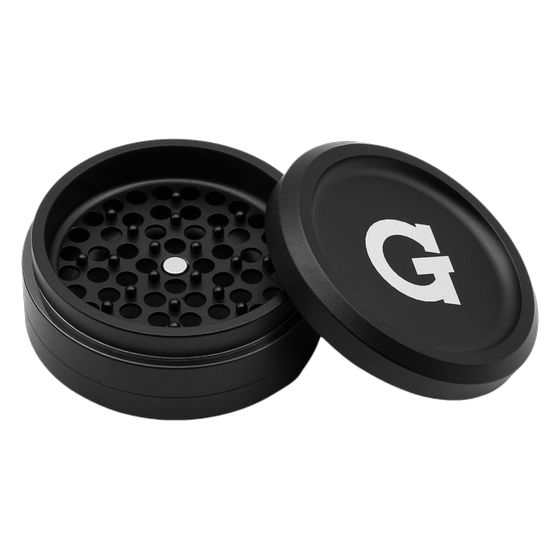
- Fully load the titanium chamber with ground dry herb.
- Pack lightly with the included pick tool — do not overpack.
- Re-attach the mouthpiece before powering on.
~0.3g capacity. A proper pack allows airflow — overpacking restricts draws and reduces vapor quality.
-
 3
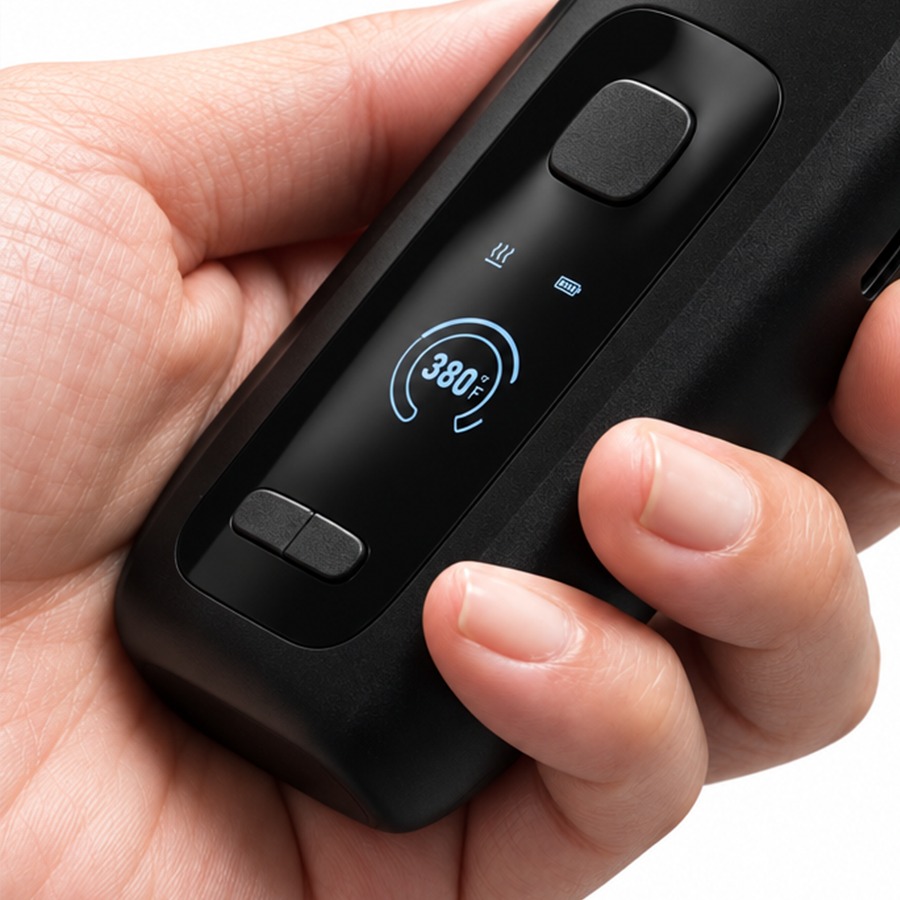
3Activate
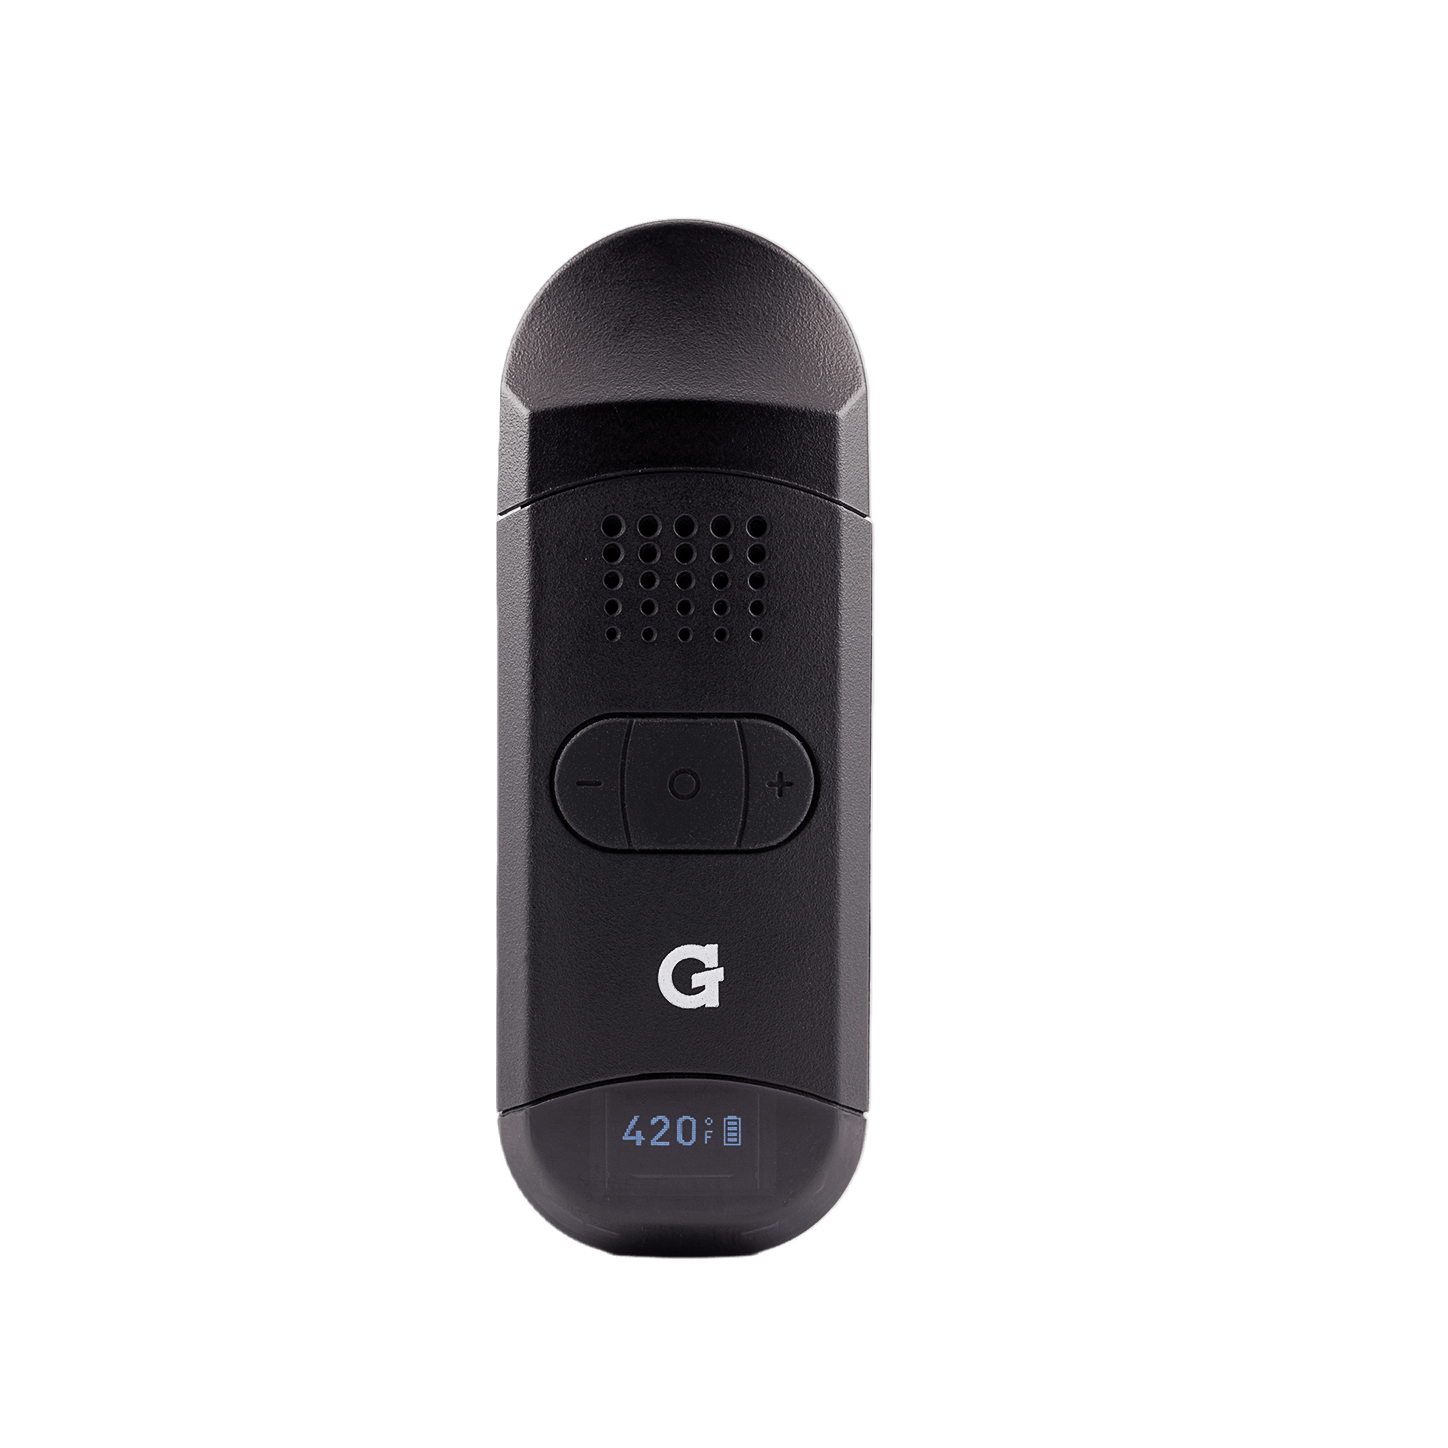
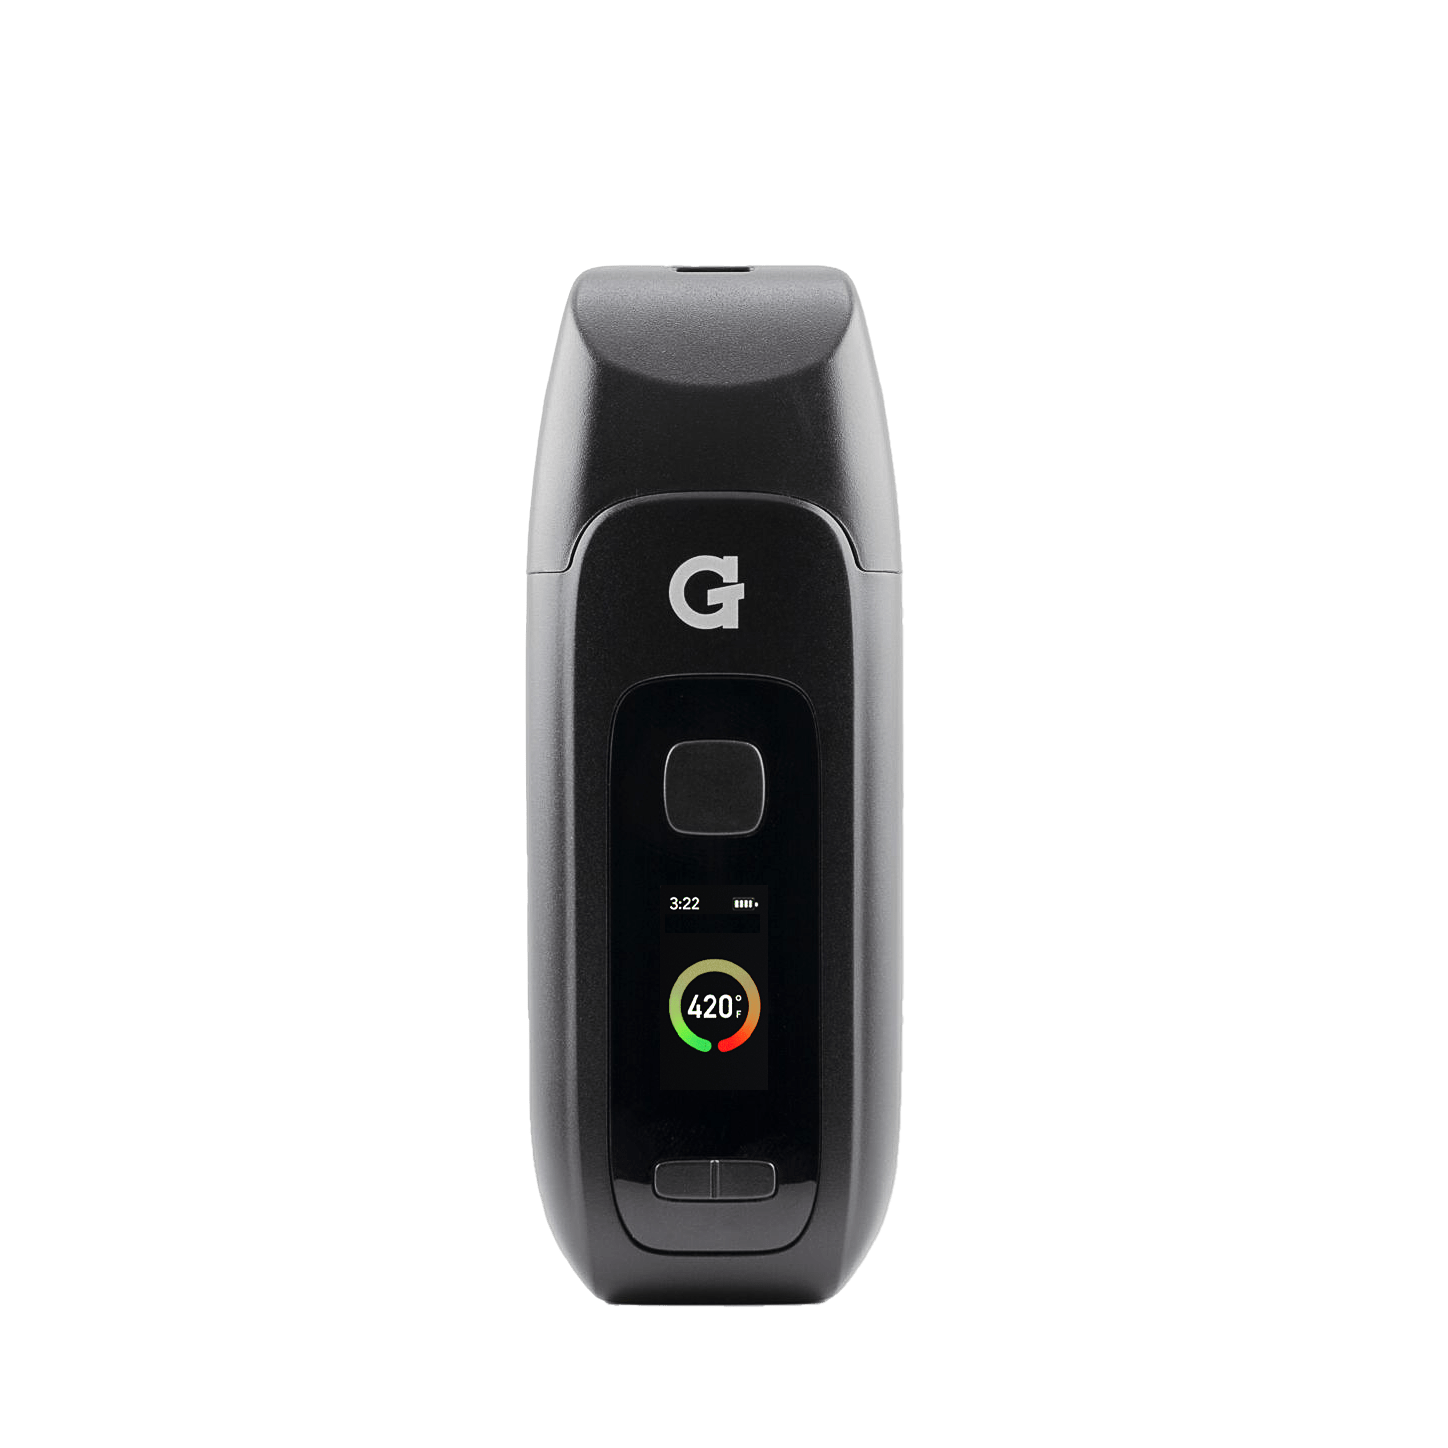
- Hold the power button for 4 seconds to turn on. The display lights up.
- Press Left / Right to adjust your target temperature.
- Double-click to start a session. The device vibrates when it reaches temp (~20 sec).
- The session auto-ends when the countdown hits 0:00. Device goes to standby.
HoldPower on / off Hold 4 seconds to turn on · 2 seconds to turn off◀▶Adjust temperature Right = increase · Left = decrease2×Start / cancel session Double-click the power button5×Settings menu Session timer · Temp unit · Brightness · Haptics -
 4
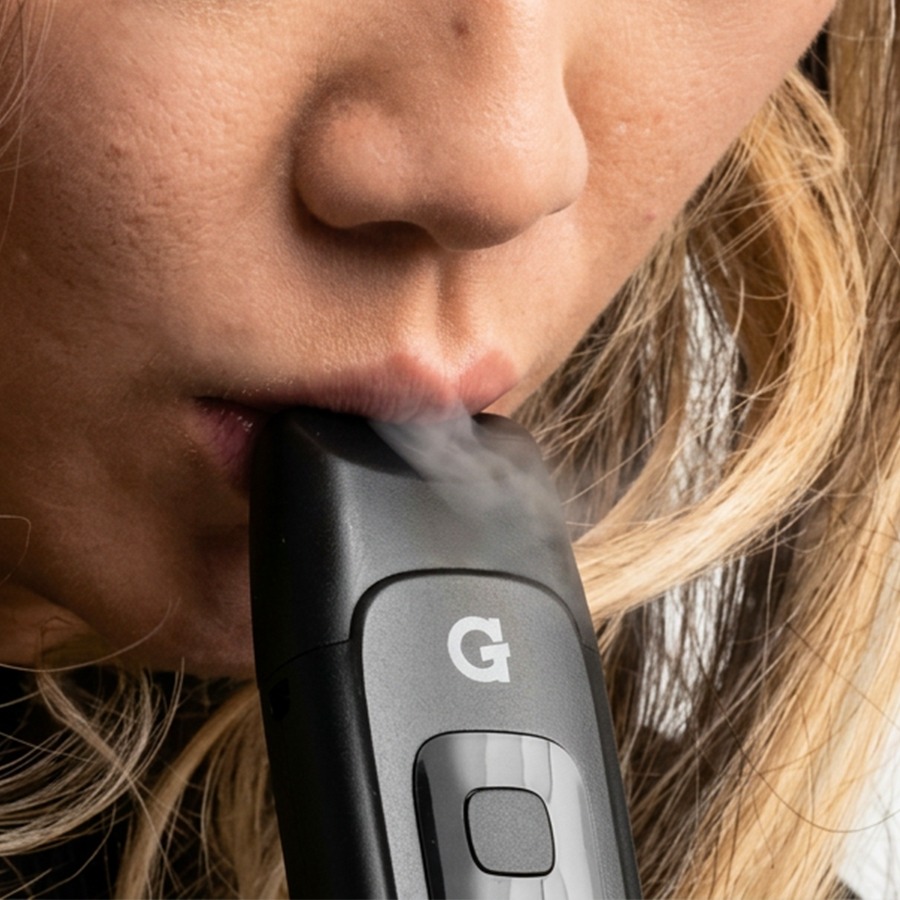
4Draw
- Once the device vibrates, wait 30 seconds for your material to bake, then draw slowly and steadily through the mouthpiece.
- The spiral ceramic airpath cools vapor before it reaches you.
- Device powers off automatically after 1 minute of no activity.
After your session: Let the device cool, then remove the mouthpiece and brush out the chamber and mouthpiece filter screen. Regular cleaning keeps flavor and airflow at their best.
-
 5
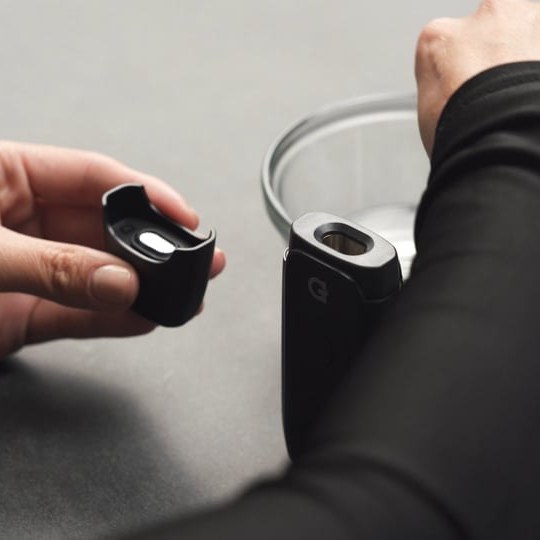
5Clean
- Power it off and let it cool completely first.
- Dip a cotton swab in isopropyl alcohol (ISO) and squeeze out the excess.
- Swab around the silicone insert, over the screen, and above and inside the heating chamber.
- For resin buildup, remove the filter screen and ceramic spiral air path and soak them in ISO.
- Wipe them with a dry swab and let them air dry before putting them back in the mouthpiece.
Never soak the device in alcohol or any liquid.
Videos
Upgrades
Accessories & replacement parts for your Dash+.


Specs
View Product Details
| Type | Dry Herb Vaporizer |
|---|---|
| Chamber | ~0.3g titanium |
| Airpath | Spiral ceramic (hybrid conduction + convection) |
| Heat-up time | ~20 seconds |
| Battery | 1,800 mAh |
| Charging | USB-C (about 40 minutes of heating per full charge) |
| Auto shut-off | 1 minute of inactivity |
| Dimensions | 4.3" × 1.6" × 0.8" |
| Weight | 276 g |
| SKU | GPD-001-AMZZ |
| UPC | 811736027489 |
| Warranty | 2-Year Limited Warranty |
Help
Common questions
Device won't turn on
Hold the power button for a full 4 seconds. If nothing happens, charge the device — the battery may be depleted. The LED display lights up when it's on.
How do I know it's ready to use?
After you double-click to start a session, the device vibrates once when it reaches your set temperature. The session countdown then begins on the display.
Vapor is thin or tastes off
Try a finer grind and make sure the chamber isn't overpacked. Clean the mouthpiece and airpath regularly — residue buildup is the most common cause of reduced vapor and off flavor.
What do the error codes mean?
The Dash+ shows a code when something needs attention. Overheating: turn it off, wait five minutes, and turn it back on. E02 (temperature sensor problem) or E08 (heating coil not connected): contact G Pen support. If the overheating message keeps coming back, contact support too.
What does the warranty cover?
The Dash+ comes with a 2-Year Limited Warranty covering electronics and manufacturing defects. Physical damage is not covered.